| Technically,
it's not difficult to achieve these effects - just tedious.
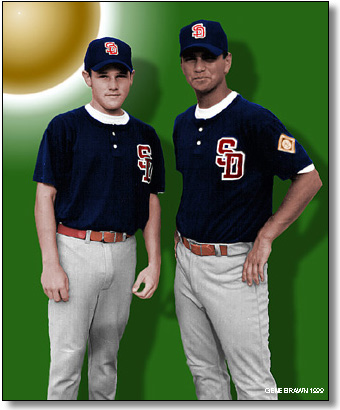
I first created two empty layers, loaded the image into the topmost and used the "lasso," and "eraser" tools to remove the background behind the figures (to transparency). Then I used the "radial gradient" tool to create a background on the bottom layer. After using the "lasso" to outline each area to be colored, I used the Image> Adjust > Hue/Saturation tool with "colorize" on. Nothing magic here, just a good eye, a steady hand, and color sense. Finishing up, I added the drop shadow using Layer> Effects, then flattened the layers and used the "smudge" tool to blend some of the hard edges on the figures into the background.. Most scans are a bit softer than the original, so I used the Unsharpen Mask filter to better define the figures. Tip: Select View> New View to open a second window. Do the close-in work in the original magnified view and instantly review the results in the other. Saves a lot of time. ©
1999 by Gene Brawn |
© 1999 by Gene Brawn and Robert Reese |